4. Finish & Serve
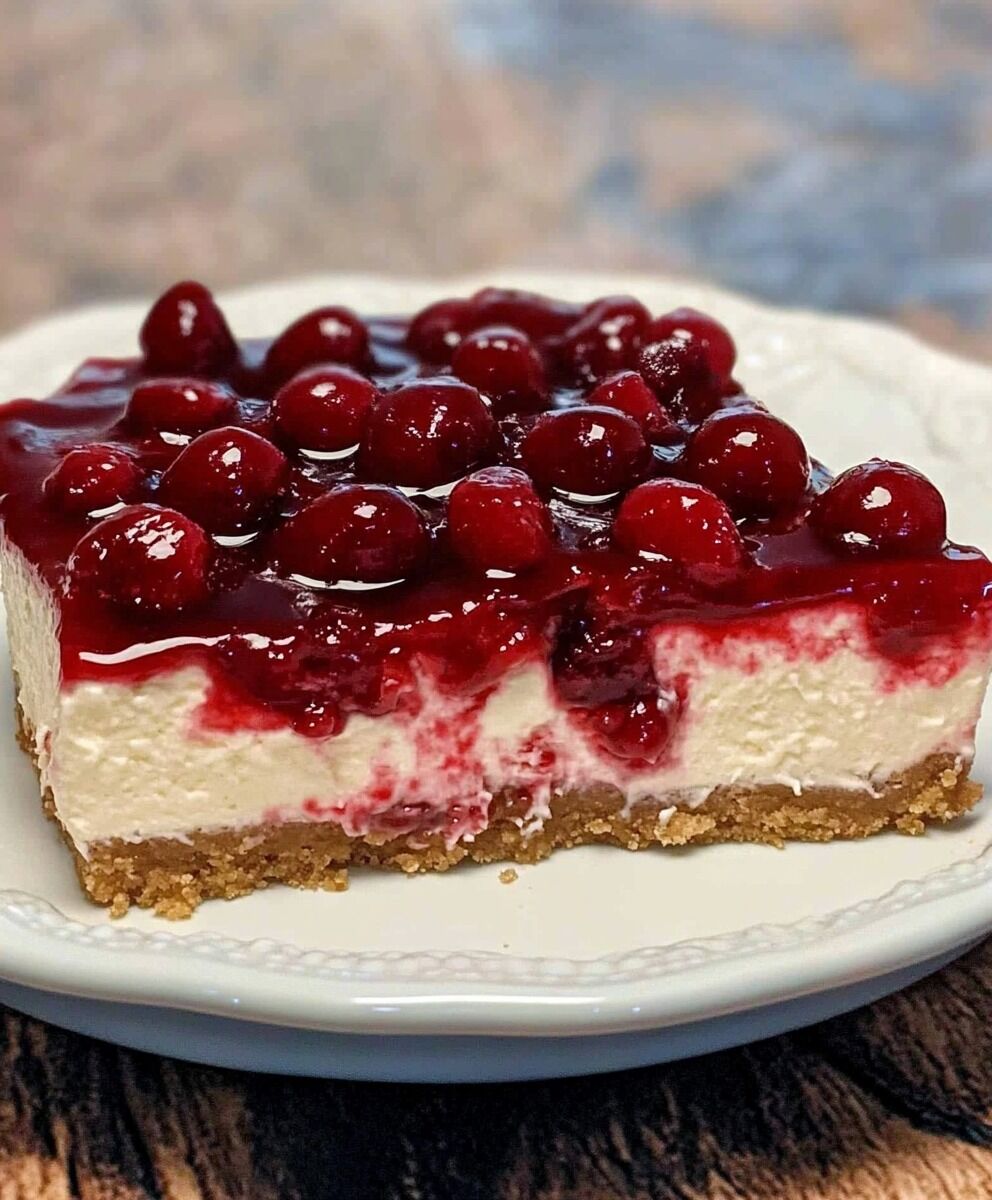
Once the cheesecake has set, it’s time to add the cherry topping. Open the can of cherry pie filling and spread it evenly over the top of the cheesecake. You can either pour it directly on or spoon it out carefully to create a beautiful design.
Serve the cheesecake immediately, or keep it refrigerated until you’re ready to enjoy it. This dessert can be made a day in advance, making it perfect for parties or gatherings.
Tips for Success
- Use Room Temperature Ingredients: Ensure that your cream cheese is softened and at room temperature. This will make it easier to blend and help create a smooth filling.
- Chill Your Equipment: For even better results, chill your mixing bowl and beaters before whipping the cream. This helps the cream whip up more easily and hold its shape.
- Experiment with Toppings: While cherry pie filling is a classic choice, you can customize this cheesecake with other toppings like fresh berries, chocolate sauce, or caramel.
- Store Properly: This cheesecake can be stored in the refrigerator for up to 5 days. Keep it covered to maintain freshness.
- Presentation: For an elegant touch, consider garnishing with fresh cherries, mint leaves, or a dusting of powdered sugar before serving.
Conclusion
This No-Bake Cherry Cheesecake is not just a dessert; it’s a celebration of flavors and textures. With its easy preparation and stunning presentation, it’s sure to impress anyone who takes a bite. The combination of the creamy filling, buttery crust, and sweet cherry topping makes it a classic that never goes out of style. Whether for a family gathering or a casual get-together, this cheesecake will quickly become a cherished favorite in your dessert repertoire. Enjoy every delicious slice!
